A robotic pool cleaner is a fully automated device that scrubs your pool’s liners while also filtering the water. It can save you a tremendous amount of time, effort, and money on keeping your pool swim-ready throughout the season. In this short guide, we’re going to show you how to install and use a robotic pool cleaner.
Please note that there are variations between brands and models, but so this guide will offer general notes on how to properly run your robotic pool cleaner.
Main Components
Before we begin, your robotic pool cleaner kit should come with the following items:
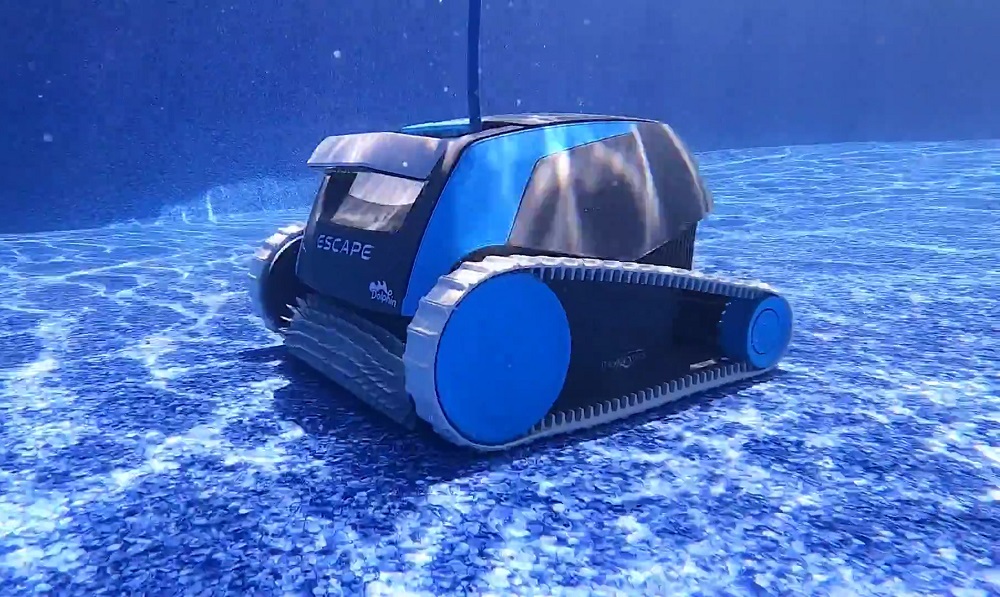
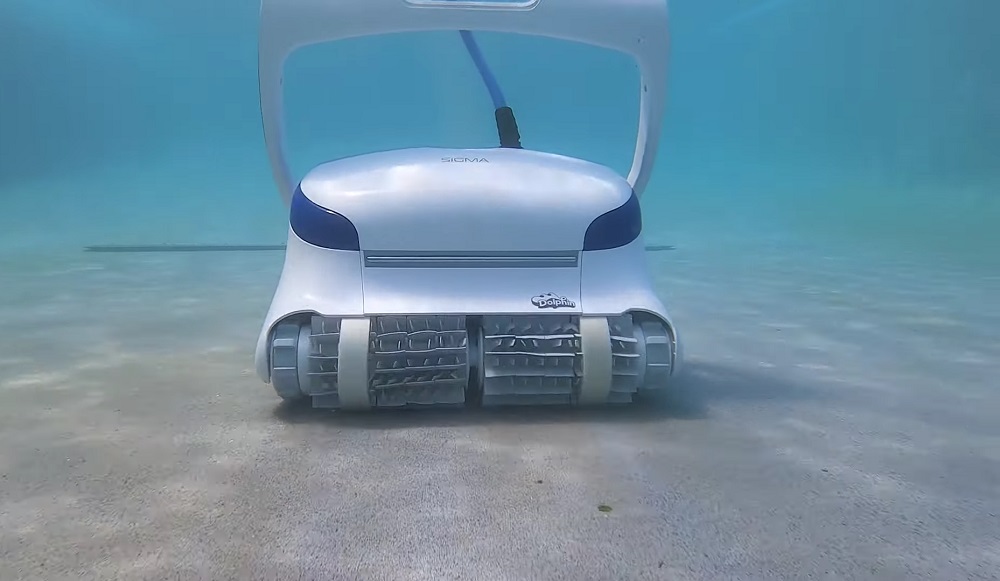
- Robot: The robot should have a set of wheels or tracks, as well as a main brush roll and/or scrubbers on the bottom, front, and/or back.
- Controller Module: The remote controller, also known as the controller module, is where you’ll input various cleaning instructions. It connects plugs directly into a power outlet.
- Transport Caddy (Optional): A caddy is used to transport the unit to and from storage. Your robotic pool cleaner may or may not come with a transport caddy, depending on the model.
- Power Cord: The power cord is a long cord that usually comes with an anti-tangle mechanism. It connects the controller module to the robotic pool cleaner.
How to Use a Robotic Pool Cleaner
Operating a robotic pool cleaner doesn’t pose any challenges. Robotic pool cleaners are plug-and-play devices, meaning that users simply need to plug the controller module into a power outlet to start the robot.
Below, we’ll offer a more specific explanation on how to install and start your robotic pool cleaner.
Step 1 | Assemble the Caddy (Optional)
If your robotic pool cleaner comes with a transport caddy or if you purchased one separately, the first thing you need to do is assemble it. Most transport caddies come in two parts, which snap or slide together in an instant.
Step 2 | Place the Controller Module on the Caddy
The transport caddy has a specialized compartment where the controller module fits snugly. After assembling the transport caddy, place the controller module in the specialized compartment, then move the caddy and controller module at least five feet away from the edge of your pool and next to a power outlet.
If you don’t have a transport caddy, simply move the controller module at least five feet away from the edge of your pool and next to a power outlet.
Step 3 | Plug in the Controller Module and Connect the Power Cord
To start the controller module, plug it into a power outlet. Then, take the power cord and thread it into the controller module until snug. Thread the other end of the power cord into the robotic pool cleaner. Don’t over tighten the power cord to prevent stripping the threads and causing damage to the controller module or the robotic pool cleaner.
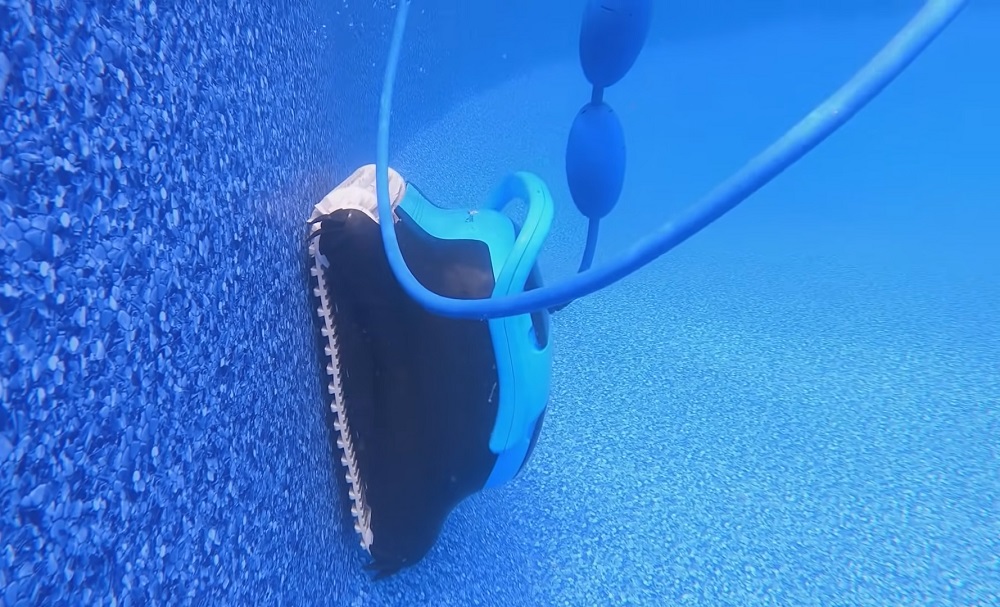
Step 4 | Submerge the Robotic Pool Cleaner
Next, take the robotic pool cleaner and slowly submerge it into your pool. Allow water to fill any air pockets in the robotic pool cleaner. Hold onto the power cord and slowly let the robotic pool cleaner sink to the bottom.
Step 5 | Select a Cleaning Cycle and Hit Start
Return to the controller module and scroll between the available cleaning modes and speeds. Select the most appropriate cleaning settings you want before hitting the start button. You should immediately notice the robotic pool cleaner traveling across your pool’s floor.
Tips for Optimizing Cleaning Effectiveness
The five-step process detailed above shows you how to install and operate your robotic pool cleaner. In this section, we’ll briefly go over a few tips to get the most out of your robot.
Tip 1 – Measure the size of your pool from the two widest points
Use that figure and add an additional five to ten feet. The end result should be the length of the power cord you allow your robotic pool cleaner to use. Any longer and it may get caught in its own power cord.
Tip 2 – Set Up a Cleaning Schedule
The best part about robotic pool cleaners is that you don’t have to constantly monitor them. The controller module can come with different cleaning schedule options, allowing you to keep your pool as swim-ready as possible throughout the summer.
Tip 3 – Pay Close Attention to the Filter Basket(s)
When the filter baskets become full of debris, your robot will stop what it’s doing until you’ve emptied them out. To do so, fish your robotic pool cleaner out of your pool, detach the filter baskets, and spray-clean them when a garden hose.
Reinstall them in the robotic pool cleaner before submerging the robot back in your pool and start its cleaning cycle anew.
Related Robotic Pool Cleaner Articles
• How to Use a Robotic Pool Cleaner
• What Features to Look For in a Robotic Pool Cleaner?
• How to Maintain a Robotic Pool Cleaner?
• Robotic Pool Cleaner Troubleshooting Tips
• What is a Swivel Cord?
• Pressure vs. Suction vs. Robotic Pool Cleaners
If you have any questions or comments, please add them below in the comment section. Similarly, please let us know if you spot any mistakes or omissions. Thanks!