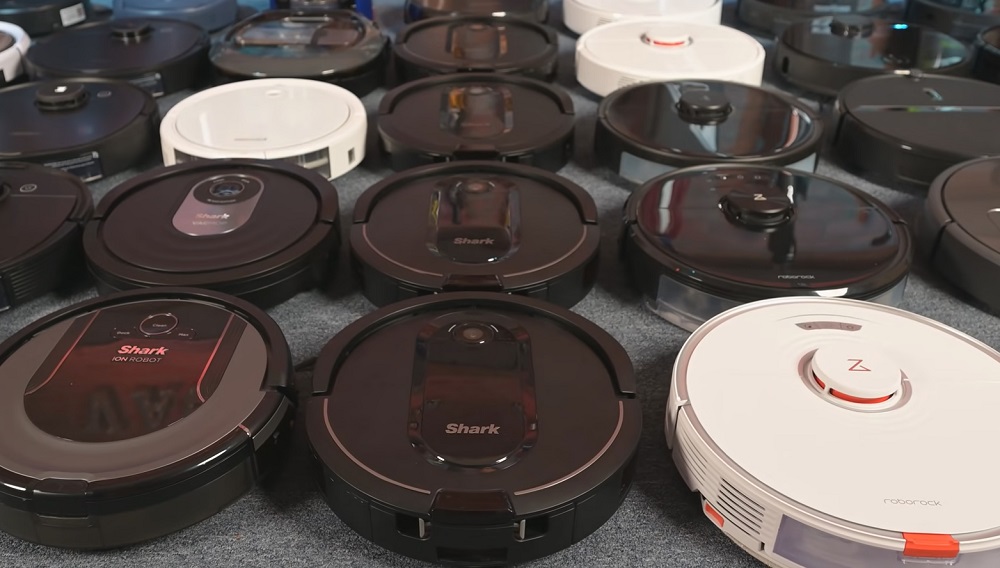
Ah, the robotic vacuum, such a wonderful invention. Nowadays, we can have dust-free, pristine floors without having to lift a finger. Having one of these nifty appliances in your home or workplace is a dream come true. However, while a robotic vacuum takes the hassle out of cleaning a room, it can’t clean itself.
This means that after several rounds of vacuuming, the device is at risk of getting clogged by hair, crumbs, dirt, dust, and other nasty bits of debris. And that spells trouble for its component parts.
We can get carried away thinking that robotic vacuums are self-cleaning. They do such an excellent job of clearing up dirt and debris independently that we forget they need maintenance now and again.
But if we want our robot helpers to keep working properly, we need to give them a clean at least once a week (or more, depending on how often we use them).
Our homes are prone to all sorts of spills and messes, so your vacuum will be sucking up all sorts of debris. From dog hair to Cheerios to cat litter, the small but mighty device tackles it all.
So, how exactly should you clean your robot vacuum? Are there different ways to deal with the different types of dirt, debris, and gunk it collects? One thing’s for sure—you’ll need to ensure that your vacuum is kept free of potential blockages to keep it working at an optimum level.
In this article, we’ll reveal the best ways to clean your robotic vacuum—no matter what debris might be lurking within it. So, before you roll up your sleeves, read on!
Hair Removal
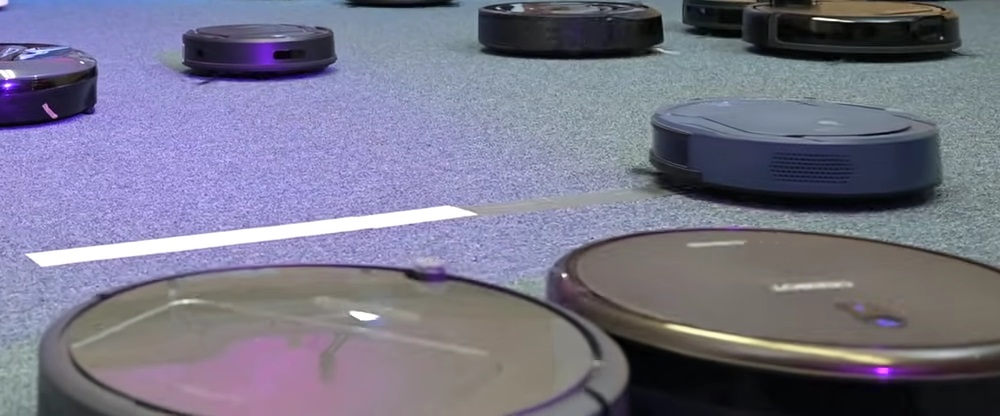
Your robotic vacuum is likely to be tackling at least some type of hair on its cleaning rounds, be it human or animal. And hair is the most common cause of vacuum blockages.
No matter its length or coarseness, hair can easily get stuck in a robotic vacuum’s brush rolls, side brushes, inlets, and wheels. Removing this hair is essential to prevent airflow issues or decreased suction power.
You may find that your robotic vacuum came with tools, such as a comb or blade, to help you remove hair that’s got stuck in its component parts. However, these accessories aren’t always effective.
In our experience, sometimes using a good old pair of scissors or a kitchen knife does the trick. This is especially true if any hair has got tightly wound around brushes. Just make sure that you don’t damage any of the robot’s components when cutting any hair loose.
If you’re using a knife to get the hair out of the vacuum, put the robot on a flat surface and onto its back. Next, pull the hair gently up from the roller brushes, wheels, or inlet so you can slide the knife under and through it.
Depending on the model of the robot, sometimes you can cut into the brush roll’s grooves. After cutting the majority of the hair loose, the rest should easily be torn away, leaving your robot hair-free and fit to fight another day.
Hair is a particular problem if it’s got tangled in your robot vacuum’s side brushes. In that case, chances are they’ll stop spinning, meaning they can’t properly sweep into dusty crevices and corners. If the side brushes have become a tangled mess, don’t fear. With most models, you can simply remove the brushes and then pull out the hair.
Sometimes it’s not just hair that messes with the side brushes’ effectiveness; they’re also liable to get bent out of shape after frequent use. If you suspect this to be the case, try to gently straighten them up. Alternatively, you can swap them over—after a few passes, they should have bent back.
But sometimes, despite your best efforts, it may just be worth buying a new brush altogether. Thankfully, replacements are usually inexpensive and can be easily found online. You may even be lucky—some manufacturers provide extra brushes with your initial purchase.
Clearing Up the Sensors
The sensors are your robot vacuum’s “eyes,” so it’s vital that you keep them clean and free of dust. If you want your robot to steer clear of obstacles, not bump into furniture or walls, or not fall down the stairs, you’ll need to ensure its sensors are in tip-top shape. And that goes for the camera, too (if your robot has one).
Different models have their sensors located in different places. Check the manufacturer’s guide or website to find out exactly where your robot’s ones are. Also, establish if the manufacturer has provided cleaning guidelines or not. If they have, it’s important to follow these instructions to prevent damage to your little helper.
Also, some manufacturers recommend specific cleaning products. Most robot vacuums will just need a simple wipe-down of their sensors with a dry cloth. Don’t wet the cloth or use soap or detergent, just ensure that all the dust is wiped away. If the grime persists, you can slightly dampen (not saturate) the cloth to wipe it away.
Checking the Wheels
Is your robot moving around oddly or erratically? It could mean that something is stuck in its wheel cavity or the wheel itself. In that case, you’ll need to get rid of it. Some devices’ wheels are removable, making it easy to investigate the cavity and axle, see if anything’s clogging it, and then remove it.
Make sure to give everything a good wipe, including the wheel itself. And what if the wheels can’t be removed? Don’t worry; the knife trick we mentioned for the brushes should work in this instance too.
Just remember not to start taking your robot apart until you’ve checked with the manufacturer. Tampering with the unit might void your warranty, leaving you with more of a headache than you started out with.
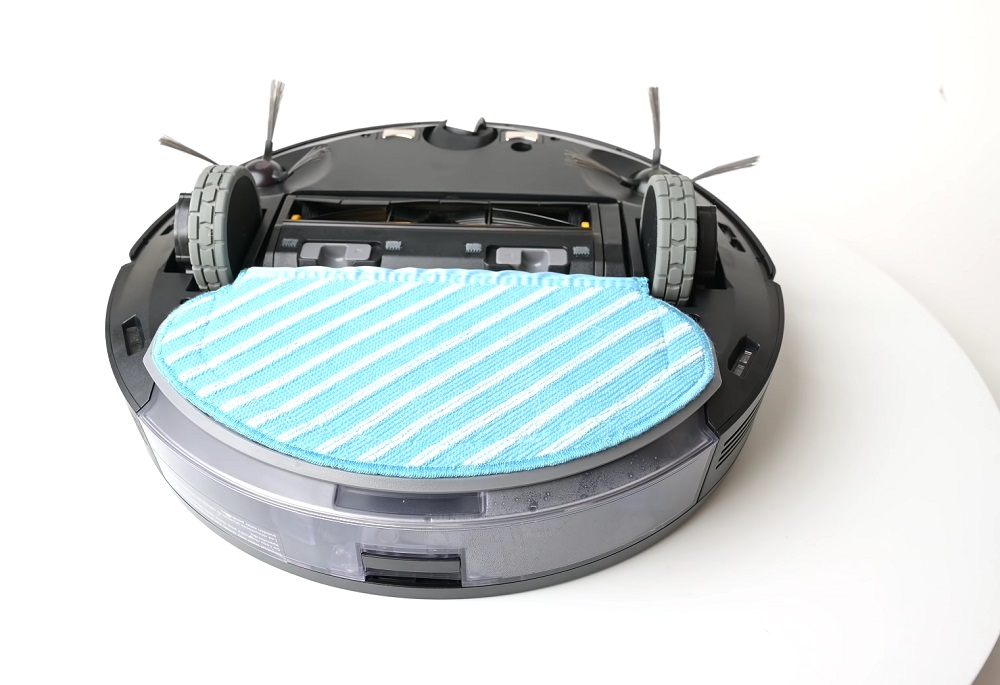
Dealing With the Icky Stuff
One of the major pitfalls of relying on robot vacuum cleaners? The occasional risk of them spreading around the grosser aspects of household messes. Unfortunately, instances of robot vacuums unwittingly picking up pet vomit or poop and spreading them around are not uncommon. Suppose you find yourself faced with this horror.
In that case, the first thing to do is immediately remove the robot’s dustbin and removable parts. Clean them up with a slightly damp melamine foam sponge with any type of electronics-friendly, non-corrosive cleaner.
Just be sure to use only a tiny amount (just a single spray). And for a more thorough wipe down, it’s safe to use 70% isopropyl alcohol wipes. Any non-corrosive cleaner suitable for electronics should work fine.
As for the robot’s body, just ensure that whatever cloth, sponge, or cleaner you use won’t damage the robot’s surface material. Always check with the manufacturer for guidance. And avoid getting any water or cleaner into any small openings. Thankfully, the robot’s bin can be dealt with a bit more vigorously.
Once you remove it, you can rinse it out in the sink or hose it down to really get it clean. Just remember to thoroughly dry it (and anything else you’ve wiped down) before putting it back in place.
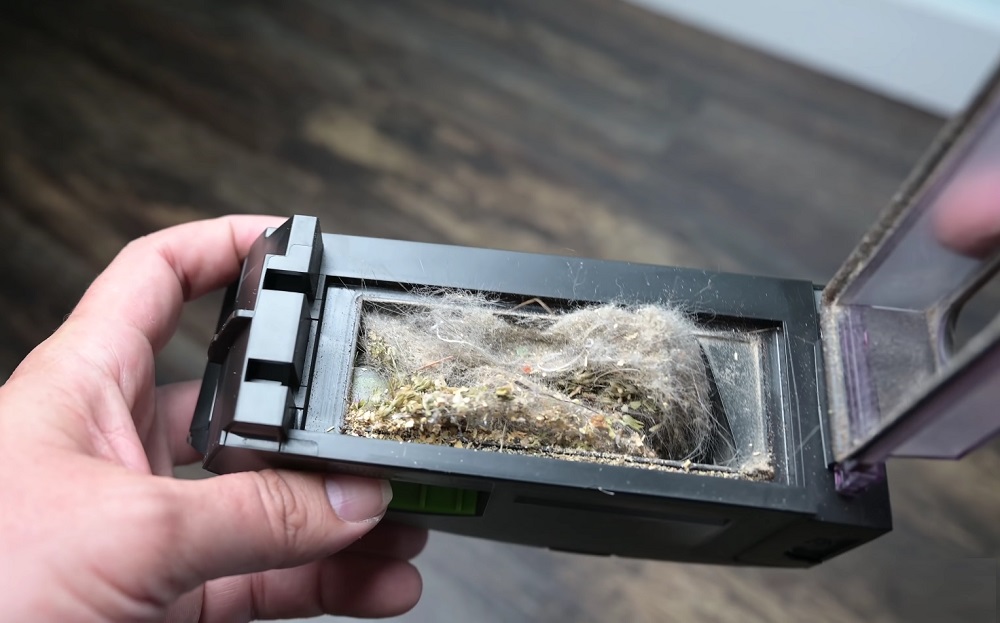
Maintaining the Filter
Keeping your robot’s filters clean and clear of dirt and grime will ensure it’s fit and ready for super cleaning action. You should aim to clean the filters every five to 10 sessions to keep them working effectively. First, remove the filter from the robot. Then, gently tap it over the trash to dislodge any dust or dirt.
Small hand-held vacuum cleaners are ideal for thoroughly getting the dirt out. But if you don’t have one, a soft brush used across the filter should work, too.
Any wet filters or ones saturated with grime or residue should probably be replaced. This is especially true if your robot uses paper filters which are more easily damaged. Just make sure that you purchase the correct filter type for your robot.
So, as you can see, to keep your robot helper in good shape, it takes just a little time and effort on your part. Regularly maintaining your robot vacuum and acting fast to remove tangles or blockages will ensure it stays in good working order for years to come.
If you have any questions or comments, please add them below in the comment section. Similarly, please let us know if you spot any mistakes or omissions. Thanks!